Below you will find stories, songs, activities, and lesson plans about fun things you can make or do. These complement your On My Way to Kindergarten activity book and help practice skills to master before kindergarten. They work great for one child, a small group, or an entire classroom!
Try the Molina 1-1-1: choose 1 story, 1 song, and 1 activity. This will give little ones lots of opportunities to practice skills while learning. You can stick with Fun Things to Make and Do for a few days, or try some of our other activity areas like Numbers and Counting, Three Little Pigs or Alphabet.
Do you have more ideas of activities, stories or songs we might include? Click here to share. If your recommendation is chosen to add to our website, we’ll give you credit and send you a gift!
Stories
The best stories are those that you share together.
- Read a book. Sit together, hold the book, introduce the title and author, and turn the pages.
- Tell a story. Make up a story, talk about your day, or tell a family story.
- Visit the library. You can borrow books, for free, from your local library – or you can read a story there. Many libraries have a free activity called “storyhour” where librarians read stories to young children. Some storyhours also have songs or crafts. Ask the librarian about storyhours at your library.
We found a few stories about bodies and senses that you can watch together. Pause the story and look at the pictures. Ask questions about the stories or pause when a question is asked in the story – that is how little minds learn! Try questions like: What is this? Who is that? What do you think happens next? What did we just learn?
Henri’s Scissors (5:42 minutes)
El Erizo y el Globo (4:38)
The Dot (3:45 minutes)
Aprende los Colores (5:22)
Harold and the Purple Crayon (9:41)
Mi Burrito Sabanero, Juana, Villancico Animado – Vídeo Oficial
Beautiful Oops (3:59 minutes)
El Pioho y la Pulga – Pedro Infante
Adivinar Jugando Objetos de la Casa 15 Adivinanzas con Respuesta – Adivinanza Corta
El Auto de Papa
Pocoyó y los Huevos de Pascua
Caminito de la Escuela – Cri Cri – Animación
Las 10 Mejores Cosas de mi Papa
Adivinanzas Sobre Frutas. Acertijos Fáciles para Niños
Que Llueva Que Llueva
La Ratita Presumida. Cuentos Cortos para Niños
Cuenta Cuentos: Ratón de Campo y Ratón de Ciudad
The Day the Crayons Quit (7:22)
Songs
Singing songs can help teach new ideas to little minds. Make up your own songs or try some of these to learn more about fun things to make and do. Listen to songs over and over again – and sing along with children. For faster songs it can help to pause the song and review the words with your little one. Making up dances and hand motions makes songs even more fun!
Painting and Drawing Song
The Scissors Song
Sesame Street: Make Your Own Art Song
We Call It Art Song!
Vengan Ya
Playlist
Stuck in a car for a while? Sitting in the waiting room? Waiting at the bus stop? We have built a playlist on YouTube with songs and stories all about fun things to make and do.

Games and Activities
Children learn by doing. Here are activities you can do together to help learn about fun things to make and do. Simple steps like stirring, cutting, pasting, gluing, and tracing are important – even if an adult can do them faster, it is more important that children practice these skills.
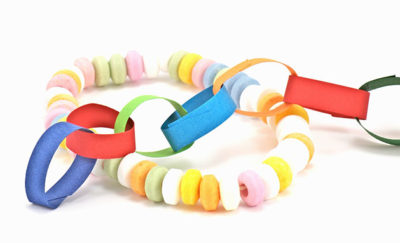
Edible Necklaces
This is a stylish and tasty activity to help build finger strength and coordination.
You’ll Need:
- Cheerios, or other O-shaped cereal
- String, yarn, or a shoelace measured to be the length of a long necklace
Thread the string through the hole of the cereal. Keep adding cereal until your necklace is long enough. Tie the necklace together and you have a snack, right on your neck, for the rest of the day!
Practiquen las Silabas de las Palabras
Aprendiendo las sílabas:

Con esta actividad puede ayudar a que los niños desarrollen sus habilidades de lectura y escritura.
- Dibuje, pinte y escriba en una cartulina varios cuadros con varías sílabas.
- Dígales a los niños que formen palabras a partir de dichas sílabas.
- Ayúdelos a recordar cómo se forman las sílabas. Por ejemplo, la “c” con la “a” es “ca”, y la “s” con la “a” es “sa”.
- Entonces pregúnteles cómo se escribiría la palabra “casa”, ellos deberán buscar la sílaba “ca” y la sílaba “sa”, ponerlas juntas, y así formar la palabra.
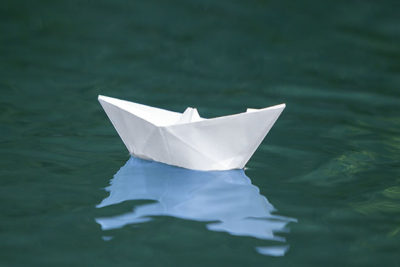
Origami
Origami is the Japanese art of folding paper into animals, shapes, and figures. Try making some fun shapes and sculptures out of paper!
You’ll Need:
- Sheets of 8 1/2″ x 11″ paper. White works, but colors could be fun too!
- For some activities, you’ll need to cut the paper into squares. We recommend 10 inch squares, but 6 inch squares work too.
- Markers or crayons to decorate
The neat part about origami is that there’s no cutting, taping, or gluing involved. Here are 5 shapes to get started:
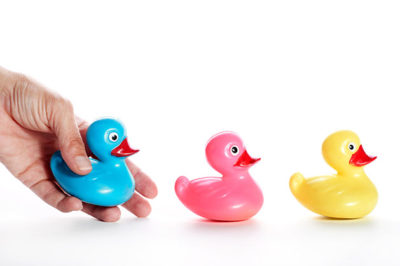
Leapfrog with Tongs
Try this fun race, with a friend! It’s fun and will help strengthen the muscles used to write and cut with scissors.
Materials:
- 2 pairs of tongs (kitchen tongs are perfect, or the plastic ones you might get with take-out meals)
- 20 non-breakable items from your house that are small enough to be picked up by the tongs. For example: blocks, plastic figurines, books, markers, etc.
- Create two rows of items on the floor. The items should be in parallel lines, and evenly spaced.
- Create a finish line a few feet in front of each line. The finish line should be perpendicular (make a T) to the line.
- Each child lines up at the end of one line. Once you say, “Go!” they pick the item closest to them with the tongs, walk/run/scoot to the other end of the line, and place it there. They are “leapfrogging” the item to the front of the line.
- The goal is to keep leapfrogging all of your items over each other to get to the finish line first.
Variations: You can take turns with one set of tongs, and race the clock. You can also draw lines (or use floorboards) to make equal increments for the leapfrogging activities.
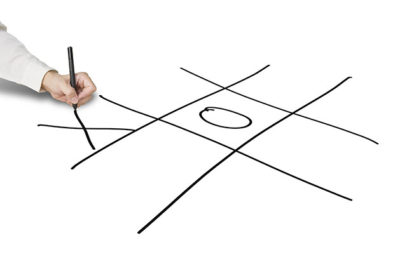
Tic-Tac-Toe
Play this fun two person game to practice drawing skills and strategic thinking.
You’ll Need:
- Paper
- Pencil, crayon, or marker
To Play:
- Draw a grid of two parallel vertical lines intersecting with two parallel horizontal lines to form 9 boxes.
- Each player needs to choose a letter – one is “X” and the other is “O”.
- Next, decide who goes first.
- The first player draws their letter in any one of the 9 boxes.
- The other player draws their letter in any of the remaining 8 boxes.
- Play continues until either:
- One player is able to link three of their letters in a horizontal, vertical, or diagonal row.
- The game ends in a time – or “cat’s game” – in which neither player connects three in a row. This is also called a tie.
Keep playing, and taking turns, to try to develop your own strategy for winning!
Making Paper Airplanes
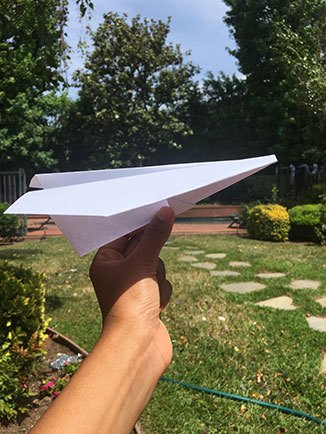
Make and decorate simple planes and then race them outside! You’ll need:
- Blank paper
- Tape
- Crayons, markers, colored pencils
- Fold the paper in half vertically.
- Unfold the paper and fold each of the top corners into the center line.
- Fold the top edges into the center line.
- Fold the plane in half towards you.
- Fold the wings down, matching the top edges up with the bottom edge of the body.
- If needed, add tape to the inside of the body to hold it together.
- Decorate your plane.
Variations: Check out this link for more complicated designs.
Make Paper People
Try making creative paper people together. This is a fun activity to practice using scissors and using your imagination at the same time!
You’ll Need:
- Paper (8.5″ x 11″)
- Scissors
- Tape
- Crayons, markers, colored pencils
- Take one piece of paper (8.5″ x 11″) and cut it lengthwise.
- Fold it into quarters accordion (pleated) style.
- Draw an outline of a person (be sure to include their head, body, arms, and legs) on the top layer. Be sure that the arms extend beyond the edge of the folded sheet.
- Cut the figure out and unfold. You will get a chain of paper people holding hands.
- To have more paper people in your chain, use a larger sheet of paper and fold more pleats before cutting. Or use more than one sheet of paper and connect the figures with tape.
- Decorate your paper people with eyes, nose, mouth, hair, and clothes.

Finger Painting
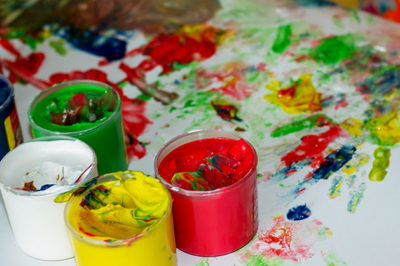
Grab some paint and some paper and watch as your kids explore different colors and how they change when mixed together. Try different shapes!
You’ll Need:
- Finger paint (recipe below)
- Paper
- Smocks to help protect clothing
- Newspaper or a plastic tablecloth to help protect the table
To make your own paint you need:
- 4 tablespoons of sugar
- 1/2 cup of cornstartch
- 2 cups of cold water
- A pot
- Different colors of food coloring
- Small jars, containers or cups with lids (e.g. baby food jars with lids)
- Stir 4 tablespoons of sugar and ½ cup of cornstarch together in the pot.
- Add 2 cups of cold water.
- Heat the mixture on medium heat until the mixture is thick (the mixture will continue to thicken as it cools off).
- Turn off the heat and move the pot off the hot burner to let it cool.
- After the mixture has cooled, place a little of the mixture into each jar or cup and add some food coloring to each one. Now you are ready to paint with your fingers!
Try blending the paints together and see if new colors form. Alternatively, encourage your child to draw fun shapes and make patterns out of them.
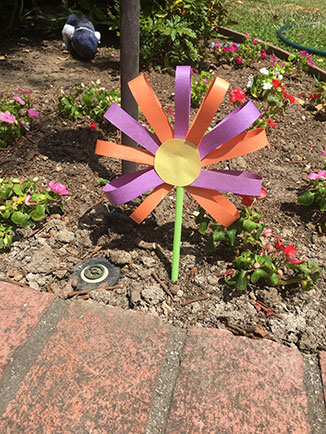
Pretty Paper Flowers
The perfect homemade flowers to decorate your home!
You’ll Need:
- Multi-colored construction paper
- Scissors
- Glue
- Plastic straw or popsicle stick
- Tape
- Markers
- Choose what colors to use for the different flower pieces: the center, leaves, and petals.
- Cut a circle (~2-4 inches in diameter) to be the center of the flower.
- Cut one strip of paper to be the first petal. Glue the ends of the strip together, to make a paper loop. Hold your petal up next to the circle center. This is your first petal.
- Cut more paper strips (of the same, or different, sizes) to be used for more petals. You will need quite a few, depending on the size of the flower you are making.
- Glue the ends of the strips together and allow them to dry.
- Glue, or tape, the petals on one side of the paper circle.
- Once you are happy with how full your paper flower is looking, apply some glue to the straw or popsicle stick, and press it in the middle of the flower. Secure it with clear tape. This is the stem. (If using a popsicle stick, you might want to decorate it first.)
- If you would like, cut out two long ovals to use for leaves. Fold the ovals in half to create a crease or a seam. Tape the leaves onto the stem, or popsicle stick.
- You can make many flowers to add much color to your home, classroom, or a relative’s house!
