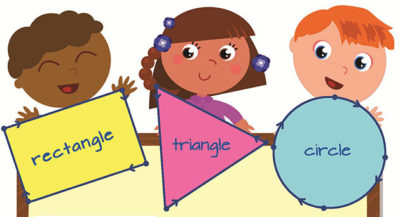
Below you will find stories, songs, activities, and lesson plans about colors and shapes. These complement your On My Way to Kindergarten activity book and help practice skills to master before kindergarten. They work great for one child, a small group, or an entire classroom!
Try the Molina 1-1-1: choose 1 story, 1 song, and 1 activity. This will give little ones lots of opportunities to practice skills while learning about colors and shapes. You can stick with colors and shapes for a few days, or try some of our other activity areas like Everyday Activities, Fun Things to Make and Do or Numbers and Counting.
Do you have more ideas of activities, stories or songs we might include? Click here to share. If your recommendation is chosen to add to our website, we’ll give you credit and send you a gift!
Stories
Here are some fun videos and stories introduce colors and shapes. It is okay to pause the story as you watch to ask questions and engage with the content!
Bear Sees Colors (6:45 minutes)
Conte l’elefant Elmer (8:07)
Brown Bear, Brown Bear, What Do You See (5:10 minutes)
El Monstruo de Colores (3:51)
Pete the Cat I Love My White Shoes (4:38 minutes)
Adivinar Jugando con las 15 Adivinanzas con Respuesta de Objetos – Adivinanza Corta
Lemons are Not Red (3:00 minutes)
Colección de Colores | Gris, Rosa, Negro | Aprender Colores | La Pandilla de Colores |
Round is a Tortilla: A Book of Shapes (3:04 minutes)
Colors, Colors – ¡Colores, Colores!
Plim Plim – 120 Minutos de Capítulos Nuevos y Completos – Dibujos Animados
Cuentos Cortos para Niños – Aprender las Formas en Español – Cuentos Infantiles
Shape Spotters (5:04)
Songs
Make up your own songs or try some of these to learn more about colors and shapes.
Color Song
Colors Songs with Basho & Friends
I Can Sing a Rainbow
Los Colores: Aprende los colores en español con BASHO & FRIENDS
The Shapes Song
Basho & Friends: Aprende Formas Básicas en una Canción en Español
Dancing Shapes
Pointing Out the Shape Song
Canción de los Colores – Canciones Infantiles
Canciones Infantiles para Aprender los Números, los Colores y las Formas | ¡LittleBabyBum!
Huevos Sorpresas | Baa Oveja Negra | Aprende Colores & Objetos | ChuChu TV
Los Colores – Canciones Infantiles – Videos Aprende
Los Colores Rojo, Amarillo y Azul Canciones Infantiles
Las Cancion de los Colores para Ninos
Los Colores en Español Videos Educatives para Niños
Playlist
Stuck in a car for a while? Sitting in the waiting room? Waiting at the bus stop? We have built a playlist on YouTube with songs and stories all about the Colors and Shapes.
Games and Activities
Children learn by doing. Here are activities you can do together to help learn about colors and shapes. Simple steps like stirring, cutting, pasting, gluing, and tracing are important – even if an adult can do them faster, it is more important that children practice these skills.
I Spy
Practice powers of observation – and colors and shapes – with this game! All you need are two people and an active imagination.
- The game starts with a simple declaration by one player: “I spy something _____.”
- The blank can be filled in with any color or shape. For example, “I spy something green” or “I spy something that looks like a circle.”
- It is up to the opposite player(s) to guess what the first player spied. The player who guesses correctly becomes the spy.
Aprendiendo Los Colores
Aprendiendo los colores utilizando un tablero con círculos de colores pintados para usar las manos y los pies.
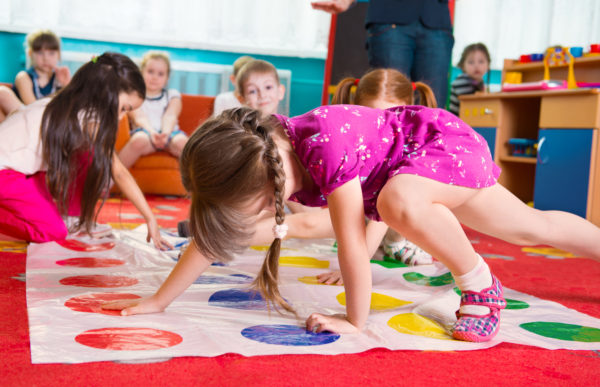
- Para empezar, elabore el tablero utilizando una cartulina lo suficientemente grande. Pinte o dibuje sobre ella varios círculos grandes de colores en toda la superficie de la cartulina (ésta será el tablero). Después en una cartulina más pequeña y que pueda tomar en sus manos (ésta será el indicador) pinte o dibuje en la parte de en medio, el mismo número de círculos de colores utilizados en el tablero, y en las cuatro esquinas indique con letras o figuras el pie derecho e izquierdo y la mano derecha o izquierda.
- Traze y recorte una flecha con otro pedazo de cartulina y con una tachuela, clávelo en la parte de en medio del indicador a manera de que gire alrededor de los círculos de colores y las indicaciones de las esquinas.
- Al girar la flecha del indicador, dígales a los niños que coloquen sus manos o pies dependiendo lo que la flecha indica, y en el círculo del color que señala. Los niños deberán irse moviendo por todo el tablero evitando caer para así cumplir con las indicaciones que usted les vaya diciendo.
- Con esta actividad los niños pondrán su cuerpo en movimiento de una manera divertida, reforzarán el conocimiento de los colores, y también aprenderán a diferenciar el lado izquierdo y el derecho.
Geometry Headband
You’ll Need:
- Colored paper
- Crayons or markers
- Scissors
- Tape and/or Glue
- Stapler
- Examples of circles, triangles, and squares (such as boxes, cans, and blocks) that can be traced
- Introduce important vocabulary words for this activity:
- Shape: how something looks
- Circle: a shape with no sides
- Triangle: a shape with 3 sides
- Square: a shape with 4 sides
- Trace: to draw around the outside of an object
- Cut a strip of paper that fits around each child’s head.
- Place the items that can be traced (boxes, cans, and blocks) on the table. Trace the objects on different colored pieces of paper. Ask what shapes are being made.
- Cut out each shape. (If children are too young to use scissors, they could be given a pile of pre-cut shapes and asked to identify them before they color them.)
- Glue the shapes to the headband.
- Tape or staple the headband together to fit the child’s head.
Aprendiendo Los Colores Utilizando Juguetes
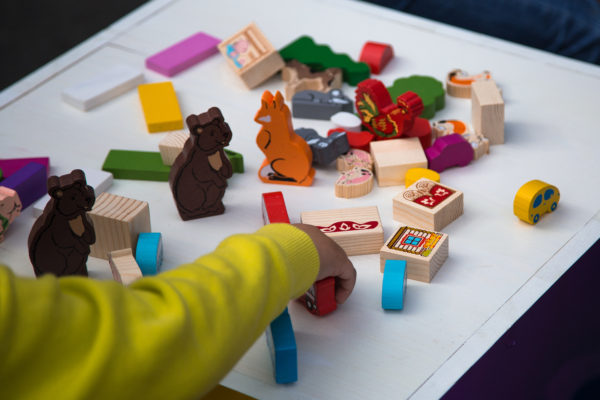
- Para empezar, coloque sobre una mesa un montón de juguetes de diferentes colores. Después pinte y recorte rectángulos pequeños de cartulina de el mismo color de cada uno de los juguetes; posteriormente, coloque los rectángulos pintados de cada color enfrente de cada caja.
- Dígale a su niño (a) que ponga adentro de la caja el juguete que tenga el mismo color que corresponda al color del rectángulo. Déjelo (a) continuar hasta que todos los juguetes estén dentro de cada caja.
- Por ejemplo, si el niño (a) toma un carrito amarillo, deberá meterlo en la caja ubicada frente al rectángulo de cartulina de color amarillo, mientras que si toma una pelota de color morado, deberá meterla en la caja que corresponda a dicho color.
- Esta actividad tiene la finalidad de que los niños aprendan a distinguir los colores. Comienze con pocos juguetes, usando un máximo de 3 o 4 colores. Más adelante se podrá ir aumentando el número de juguetes y el número de colores.
Become a Chef
Explore the kitchen using food to practice colors, shapes, and following instructions.
Fruity Butterflies. Make a beautiful butterfly out of delicious fruit. Use apple slices for the wings, blueberries for the body, and strawberry slices for the antennae. Click here to see an example.
Pancake Faces. Decorate breakfast pancakes with different fruit cut into shapes such as: circles, squares, and triangles. Make faces: try banana slice eyes, half-circle orange slices for a mouth, and grapes or berries for hair. Click here to see an example.
Celery and Cheese Flowers. Use celery slices for “stalks” and slices of orange and white cheese for different colored flowers. Click here to see an example.
Rainbow Kabobs. Skewer fruits for each color of the rainbow to make delicious, and nutritious, rainbow kababs. Click here to see an example.
Bingo
Aprendiendo los colores utilizando un juego de Bingo.
- Para empezar, pinte casillas de diferentes colores sobre cartulinas, una vez que se tengan estas cartulinas; enmíquelas y téngalas listas para el siguiente paso.
- Recorte otros cuadros de cartulina para usarlas como tarjetas; píntelas y escriba el nombre de cada color que usó para las casillas.
- Coloquelas en una caja y busque objetos (fichas) que puedan servir para ir marcando los colores que usted vaya nombrando; pueden ser botones, frijoles o bolitas de papel.
- Sáque, mencione y enseñe una tarjeta de color a la vez. Dígale a los niños que vayan marcando con sus fichas el color nombrado en cada una de sus casillas, el primero que termine de marcar todas sus casillas con las fichas será el (la) ganador (a).
Con esta actividad los niños podrán aprender a reconocer los colores utilizando un juego muy divertido.
Rainbow Wheel
The colors in a rainbow are in a very specific order. For the sake of this project, we’ll use the following order: red, orange, yellow, green, blue, purple. This rainbow wheel helps practice the order of a rainbow, and also sorting different items by color.
You’ll Need:
-
- Construction paper or felt – Red, Orange, Yellow, Green, Blue, Purple
- 1 large piece of white paper
- A dinner plate
- Pieces of cardboard to use as a stencil (a flattened large cereal box would work great)
- Pen or pencil
- Scissors
- Glue
- Small items that match each color – pom-poms, buttons, small blocks, or tokens (instructions below on how to make them)
- A resealable bag
To Make a Rainbow Wheel:
-
- Trace the dinner plate onto a piece of cardboard. Cut the circle out.
- Trace the same dinner plate, again, onto a large piece of white paper. Cut the circle out.
- You now have 2 circle cut-outs – all the same size.
- Fold the cut-out paper circle into sixths. You’ll need to make 3 folds – first fold the circle in half and unfold it. Then the next two folds will create an “X” through the middle. (You might have to try to do this a few times to get it right.) When you’re done, you’ll have a circle with 6 equal parts.
- Glue your white circle cut-out onto the cardboard cut-out.
- Along your fold lines, cut out the 6 pieces of paper-covered cardboard “pie slices.”
- Cover each of these “slices” with a different color construction paper or felt. For example, trace the first slice onto the red paper, cut out the red paper, and glue it onto the slice. Repeat for the other 5 colors: orange, yellow, green, blue, purple.
To Make Tokens:
-
- Trace a dime onto cardboard. Cut it out.
- Trace the same dime on construction paper (e.g. red). Cut the red paper out and glue it onto the cardboard. This is your first red token.
- Make 8-10 tokens for each color.
To Play:
-
- Put your rainbow wheel (or circle) together. Practice the colors of the rainbow and putting the wheel together (meaning, slide the pieces together so the small points touch in the center to make a circle). Be sure to put it together in “rainbow order”: red, orange, yellow, green, blue, purple.
- Mix up your small items, or tokens, into a pile. Guess which color will have the most items. Sort the items onto the matching slice of the pie, saying each color aloud each time.
- Variations: Build your rainbow wheel, and then hunt through the house looking for items that match your color. Bring them back and stack them on the matching color.
Store the rainbow wheel and tokens in a bag for an easy activity to go!
Practiquen las Formas de las Figuras
Aprendiendo a reconocer las figuras geométricas:
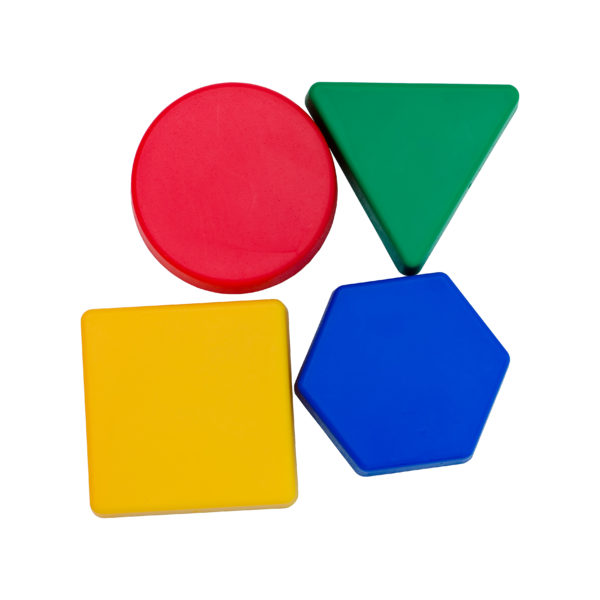
- Para que los niños aprendan cómo identificar y diferenciar las diferentes formas geométricas; dibuje, pinte y recorte con cartulina, círculos, cuadrados, triángulos, rectángulos, corazones o cualquier otra figura que quiera enseñarles a sus niños.
- Coloque los recortes de las figuras geométricas de colores sobre una mesa, y dígale a su niño (a) que ponga cada uno de los recortes adentro de cada una de las cajas señaladas para cada figura.
- Déjelo (a) continuar hasta que todas estén dentro de cada caja.
Si desea, puede hacer lo mismo con figuras tridimensionales (pirámides, cubos, conos, etc.) para enseñar a su niño (a) un nivel un poco más avanzado.
Scavenger Hunt
Here’s a fun scavenger hunt that can be done at home, at the playground, a friend’s house, or the grocery store!
Materials:
- Index cards (or paper, cardboard, or paper plates cut into the same size)
- Markers, crayons, or pencils
- Make a set of scavenger hunt cards – one for each kid!
- Colors: Write the name of a color on the card (e.g. purple). Then have the child color the card to match. Be sure the name of the color is visible.
- Make 9 color cards: red, orange, yellow, green, blue, purple, brown, white, and black.
- Shapes: Write the name of a shape on the card (e.g. square). Then, with a pencil, lightly draw the shape on the card. Have the child trace the shape with their favorite color.
- Make 9 shape cards: square, rectangle, triangle, circle, diamond, star, crescent (moon-shape), octagon, heart.
- Colors: Write the name of a color on the card (e.g. purple). Then have the child color the card to match. Be sure the name of the color is visible.
- Shuffle the cards. Have each child draw a card, and then ask them to find an object in their environment (house, school, store, bus, etc.) that is the same color or shape as the card.
Make it fun:
- Race! Have each child place their card in front/on an object that matches.
- Collect! Have the child create a pile of objects that match their cards.
- Go on a Walk! Take a walk around the neighborhood, pausing to see if you can find colors or shapes that match your cards.
Practiquen a Memorizar lo Que Ellos Ven
Aprendiendo a memorizar lo que ellos ven:
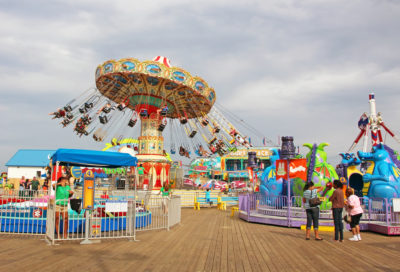
- Escoja una imagen que muestre muchos detalles, puede ser un paisaje, un parque de diversiones, un zoológico, etc.
- Enséñela a los niños para que la observen muy detenidamente.
- Pídales que se concentren en la imagen y que traten de recordar todos los detalles que hay en ella.
- Permítales observarla durante unos minutos y luego retírela.
- Después dígales que intenten recordar y dibujar toda la imagen en una hoja de papel.
Esta es una excelente actividad que mejorará la capacidad de atención y retención de los niños, al igual que aumentará su capacidad de expresión a través del dibujo.
Primary Night Lights
You’ll Need:
- 3 flashlights
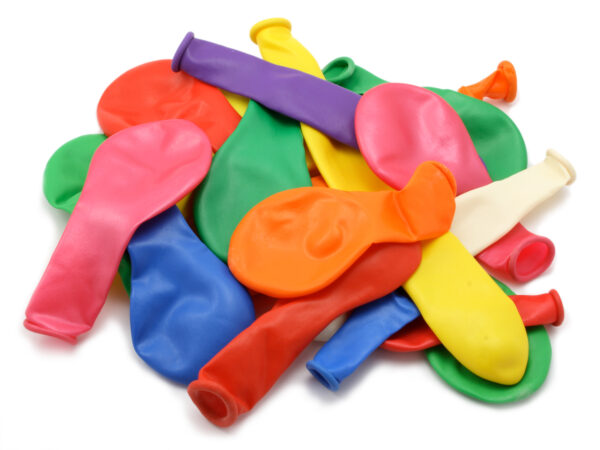
- Yellow, red, and blue balloons
- 3 rubber bands
- A flat white surface (e.g. a wall or sheet)
- A dark room
- Cut off the necks of the balloons and stretch them over the 3 flashlights. Use the rubber bands to hold them on.
- Turn off the lights and shine the red light onto the white surface.
- Ask: “What color light is this?”
- Say: “Red is a primary color – which means that you can’t mix colors together to create the color red.”
- Repeat this for yellow and blue.
- Say: “When you mix primary colors together, you can make new colors. These are called secondary colors. Let’s see what we can create!”
- Then, mix the three flashlights on the surface in various combinations. What new colors are formed?
Finger Painting
Explore different colors and shapes while playing with paints.
Materials:
- Smock, or adult-sized t-shirt to protect clothing
- Plastic plate, plastic tray, or other plastic surface.
- Finger paint
- Finger paint paper
- Each child should put on a smock or very large t-shirt to protect their clothes.
- Place small blobs of paint onto a tray or other plastic surface.
- Encourage children to put their fingers in the paint and paint different shapes and designs on their paper.
- Try blending different-colored paints together and making patterns.
This activity should be both messy and fun – it’s the best way to learn!
If you want to make your own finger paint, you’ll need: sugar, cornstarch, water, food coloring, and small containers. Stir 4 tablespoons of sugar and ½ cup of cornstarch together. Add 2 cups of cold water, and heat over medium heat until the mixture is thick (the mixture will thicken as it cools). Divide into four or more containers. Add food coloring to create different colors. Be careful: these might stain clothing!
Stick Shapes
You’ll Need:
- 10 popsicle sticks
- Lay all of the sticks on a table or the floor.
- Choose 1 stick.
- Ask: What shape can 1 stick make?
- Answer: A line.
- Pick up an additional stick.
- Ask: What shapes can 2 sticks make? Show me.
- There’s no wrong answer. Answers could look like an X, T, L, V, etc.
- Add another stick.
- Ask: What shape can 3 sticks make? Show me.
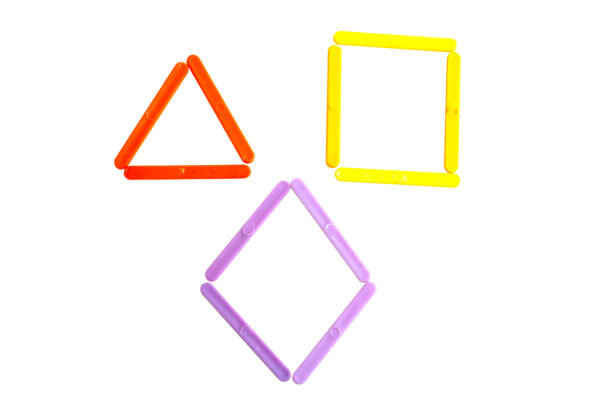
- Rearrange the sticks to look like a triangle.
- Add one more stick:
- Ask: What shape can 4 sticks make? Show me.
- Rearrange the sticks to look like a square.
- Do it again. This time, leave each shape on the table. Lay all of the shapes side-by-side. Review the shapes and count the number of sticks in each shape.
Sorting Snack Mat
A very special treat!
You’ll Need:
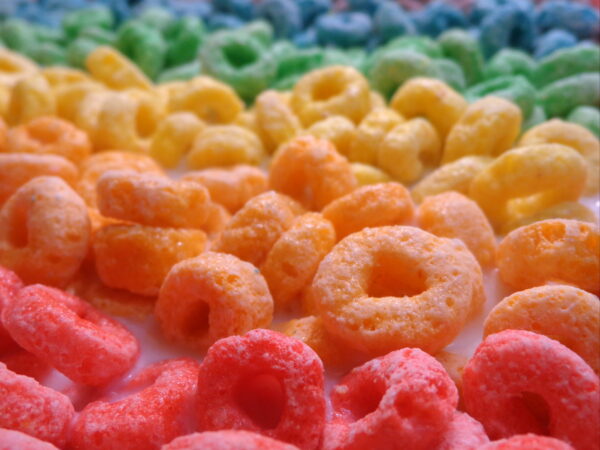
- A box of cereal that has many different colors – e.g. Trix, Fruit Loops, Fruity Pebbles, etc.
- A small bowl for each child
- For each child, a piece of paper with boxes drawn on it, enough for each color in the box of cereal (e.g. if Trix has 6 colors – draw 6 boxes on the paper.) We’ll call this their “Sorting Mat.”
- Place a Sorting Mat in front of each child.
- Place a small bowl next to each Sorting Mat.
- Pour ½ cup of cereal into each small bowl.
- Have the children sort their bowl of cereal, by colors, on their Sorting Mat. Once the cereal is sorted, review the colors and count how many pieces are in each box. Compare with other children.
Eat the sorted snacks!
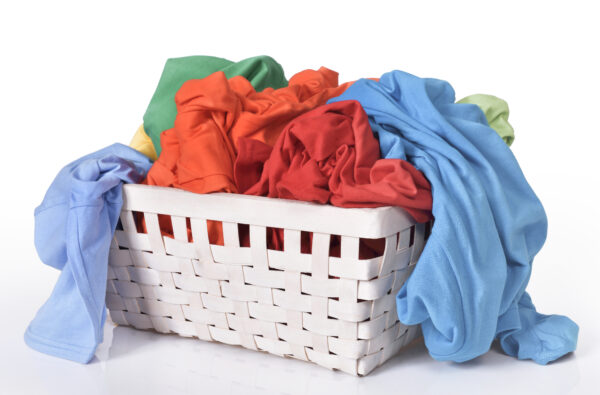
Laundry Fun
Fold the laundry together as a family. Kids can help in lots of ways while practicing their colors and shapes.
You’ll Need:
- Clean laundry, ready to be folded
- Sort the clean laundry into piles of different colors. Then fold them by color. You could even make a “multicolored” or “rainbow” pile for clothes that have lots of different colors. Talk about the different types of clothes, who they belong to, and where they might wear them.
- Make matching socks a very important job for kids. Finding shapes and colors that match is a great way to practice!
Color Chutes
You’ll Need:
- 9 paper towel tubes (or toilet paper tubes)
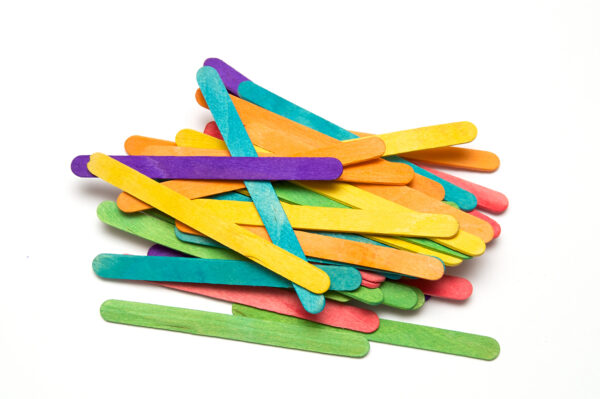
- 50-100 popsicle sticks or strips of plain-colored cardboard or tagboard cut to approximately the size of a popsicle stick
- Markers (red, orange, yellow, green, blue, purple, brown, white, black). When assembling the activity, if white doesn’t show up, consider using a white sticker, white-out, or another color.
- White stickers or labels (small white pieces of paper with some tape would work too!)
- Large piece of cardboard, tack board, or wood. Preferably a rectangular shape, but a large square would work too.
- Duct tape, push pins, or tacks
- 9 small plastic containers – plastic cups, freezer containers, small butter tubs, etc.
To assemble:
- Color each tube a different color: red, orange, yellow, green, blue, purple, brown, white, black. Color a thick band around the top, or color the entire tube.
- Write the name of the color on a sticker, and place it on one end of each tube so, when the tube is standing up, it’s easy to read. Alternatively, write the color on a piece of paper, cut it out, and attach it to the tube.
- Attach the tubes near the top of a piece of cardboard, tackboard, or wood using duct tape, push pins, etc. Line the tubes up so there is a bit of space between each, with the side that has the name of each color facing out. If it helps to imagine how to space the tubes, to play the game, there’s a container beneath each tube (or chute) to catch what’s dropped through it.
- Make 5-10 popsicle sticks to match each color: red, orange, yellow, green, blue, purple, brown, white, black. You can either just color the top, or the entire stick. (You could also cut strips to cardboard to mimic popsicle sticks.)
To play:
- Set up your board. Say each color aloud, and below each color place a small container to catch the pieces. Be careful to line up the containers right beneath the matching chute.
- Mix up the sticks.
- Pick up a stick. Place it in the matching color chute or tube.
- The stick will sail through the tube and into the container below.
- Keep sorting the sticks until they are all sorted.
- Too Easy? Try making it a timed game and see if they can beat their personal records.
- Variations:
- Instead of popsicle sticks, find small items in your house that match the colors and sort them into the chutes. Buttons, small craft pom-poms, toys, etc.
- Fill the containers with water so when a stick, or toy, drops through the chute it splashes.
Sidewalk Shape Shuffle
You’ll Need:
- 16 index cards or squares of paper
- Marker, crayon, pencil, etc.
- Chalk
To Prepare:
- Make two sets of cards. Each set has 8 cards.
- Shapes. On each card, write the name and draw a picture of one of these shapes: square, circle, rectangle, triangle, star, line, X, cross (+). Write “SHAPE” on the back of each card.
- Actions. Write an action on each of the cards: walk slowly, walk quickly, run, hop, skip, walk on tip toes, swim in the air, dance. Write “ACTION” on the back of each card.
- On the pavement, draw large shapes (one for each of the shapes in the “Shapes Set”) in chalk some distance from one another. Scattered around a driveway or basketball court at the park would be ideal. You could even put different shapes in different sections of the sidewalk.
To Play:
- Introduce the game as the “Sidewalk Shape Shuffle.” The word shuffle can mean two things. It can mean 1) to mix up or rearrange cards, or it could mean 2) a way of walking where you drag or scoot your feet on the ground. Practice shuffling your feet.
- Review each of the cards with everyone playing. Look at each card and make sure everyone knows what it means. Be sure to practice the actions and find each of the shapes on the pavement before you start.
- Keeping the sets separate, shuffle the cards and turn them upside down.
- Choose 1 shape card and 1 action card. Turn them over.
- When someone says “Go!” everyone tries to find the shape on the ground, while doing the action. For example, “walk slowly” and “triangle” would result in lots of very slow-moving children looking for the triangle on the ground.
- Once everyone’s on the shape, someone yells “Shuffle!” and everyone shuffles back to the starting line.
- Keep making pairs until all have been used. Shuffle the cards, and start over!
Variation:
- If everyone has trikes, bicycles, scooters, etc. draw a new shape card for each kid. They ride their rolling toy to the shape. Once everyone’s on a shape, yell “Shuffle!” and they all race back to the start.
